Framing Carpentry
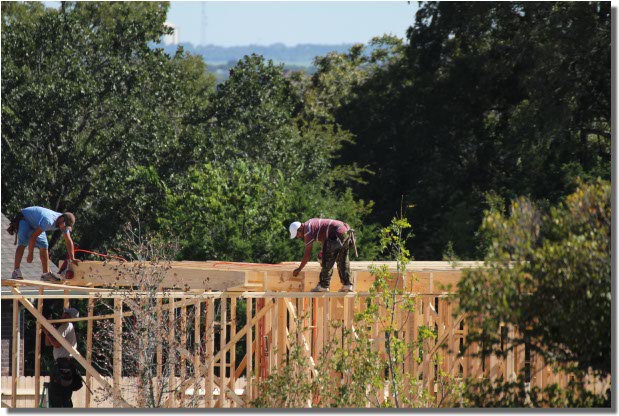
Framing carpentry has always been my favorite phase of home building. At the end of a long workday, you can see the fruits of your labor standing tall in the sky. A good framing crew can frame an entire house in less than a week.
Explore the following tutorials to learn more about these phases of residential framing.
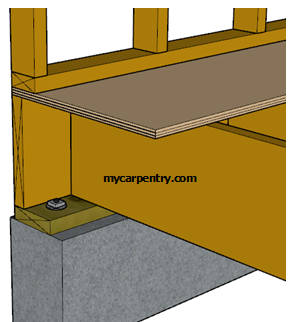
Framing a Floor - Determine the size and length of floor joists, learn how to square a floor frame, and learn about the extra framing required for wall partitions and stairwells.
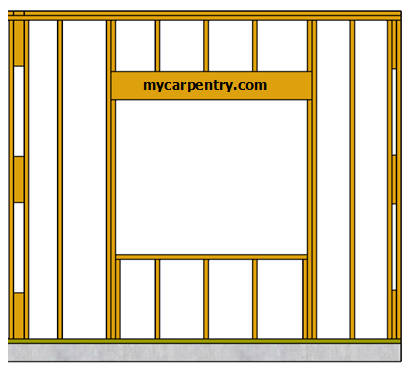
Framing a wall - Before you begin framing walls, there are a few steps to learn before you get started. This tutorial explains how to lay out a wall with windows and doors.
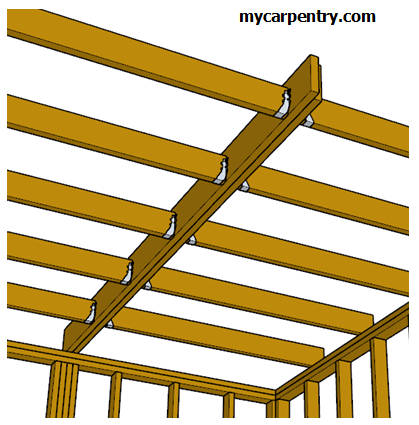
Framing a ceiling - Ceiling joists support the ceiling surface materials. In a two-story residential structure, the floor joists on the second level often serve as ceiling joists on the first level.
Roof Framing - You can learn a great deal about roof framing by understanding the concepts of gable roof framing. This roof type has all the elements of the other roof types. Learn about the math formulas that are related to roof framing.
Framing a Door - This tutorial will explain how to construct a rough opening for a door and guide you through the basics of pre-hung door installation. The framing elements and the techniques used also apply to window openings.
Framing Carpentry Components
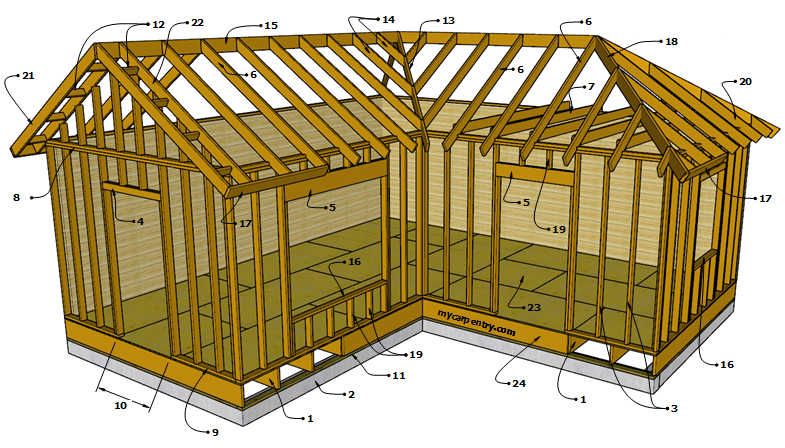
The diagram below shows common framing elements used in residential construction. The drawing shows the different types of headers used for doorways and windows. There are load-bearing headers for walls that support the weight of a roof, carry part of a second-floor load (or both), and non-load-bearing headers for use in non-load-bearing walls.
The diagram also compares the differences between framing gable roofs (the left side of the drawing) and framing for hip roofs (shown on the right).
The numbered labels in the diagram above correspond to the numbers and descriptions in the table below.
| 1 | Floor Joist | 13 | Valley Rafter |
| 2 | Foundation/Footing | 14 | Valley Jack Rafters |
| 3 | Common Studs | 15 | Ridge |
| 4 | Header (Non-Load Bearing) | 16 | Rough Sill |
| 5 | Header (Load Bearing) | 17 | Sub Fascia |
| 6 | Common Rafter | 18 | Hip Rafter |
| 7 | Ceiling Joists | 19 | Cripple |
| 8 | Double Plate | 20 | Hip Jack Rafters |
| 9 | Sole Plate | 21 | Fly Rafter |
| 10 | Rough Opening | 22 | End Rafter |
| 11 | Sill | 23 | Subfloor |
| 12 | Lookouts | 24 | Joist Header |
Whether you are framing a floor, a wall, a door, or a roof, make sure your measurements are precise and that every framing member is square, plumb, and level. If something is off, every subsequent construction task will suffer for it. Doors and windows won't hang properly. The drywall won't line up with the studs. Roof decking won't align with the rafters, and trim joints will have gaps.
Take the time to include precision and quality in your work.
Check out the carpentry calculators, carpentry math, and the how to build it sections on this site for more information about framing carpentry.
Carpentry Calculators - Calculators used in carpentry.
Span Tables - Calculate maximum rafter and joist spans.
Stairs and Landings - How to build stairs and landings.
Carpentry Terms - Terms used in carpentry and construction.
What next?
Leave framing carpentry and visit the mycarpentry.com home page.


